how to make 3d pictures drawing
Since the dawn of fourth dimension, artists have been trying to replicate the world around us. These days, 3D modelling and printing may be the closest way still to practise this.
A 3D model is exactly that, a model with iii dimensions. When y'all create 3D models, you allow viewers to run into height, width, and depth. The procedure of turning a series of images into a 3D model is called photogrammetry ut yous still demand to make it.
In this article, we bear witness you lot how to approach, photograph, and create 3D models from photos.


What Y'all Demand to Make a 3D Model From Photos
To brand 3D models from photos you will need a photographic camera, software, and a 3D printer.
Photographic camera
A DSLR such as Canon or Nikon will give you many settings, let yous photo RAW, and provide high-quality images.
You lot will also demand a wide-bending lens without huge amounts of distortion. For example, a 24-70mm would be perfect.
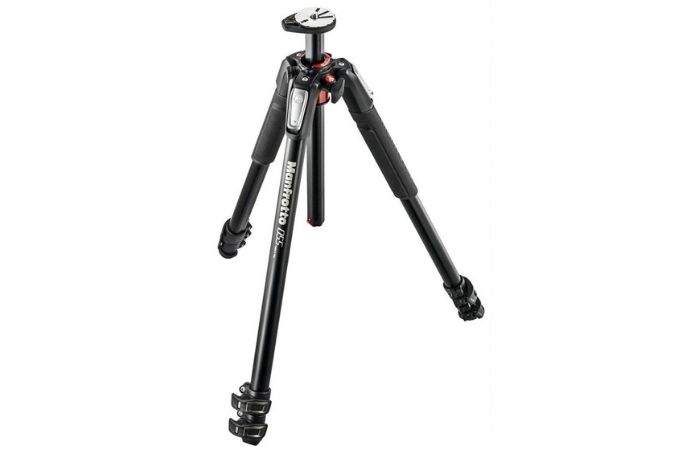
You volition also need a sturdy tripod. A good tripod allows you to shoot from head peak when fully extended.
Software
You have to use software to create a 3D model from photos.
For 3D modelling, we volition employ the Agisoft Photoscan.
Two alternatives to Agisoft Photoscan are:
- Regard3D is a structure-from-motion program, creating a 3D model from a series of photographs.
- VisualSfM is some other GUI application, resulting in 3D reconstructions using a serial of images.
For creating meshes and cleaning your 3D image, there are other options. AutoDesk Maya is a groovy alternative, then is Mesh Mixer.
Printer (Optional)
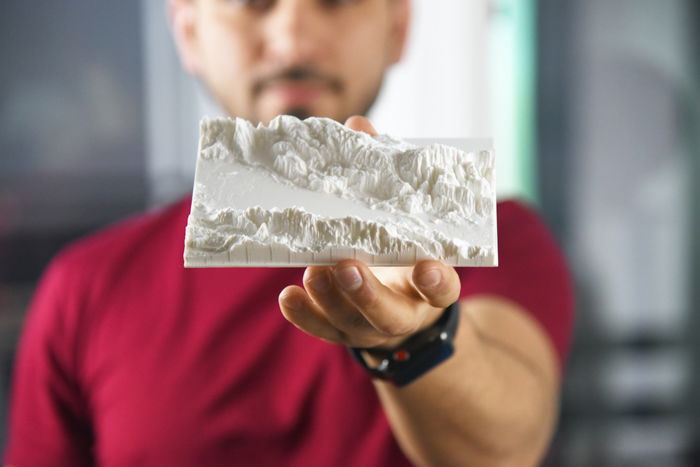
In one case you have your 3D model, yous want to bring it to life through 3D printing. If y'all do non own a 3D printer yourself, there are websites specified for this, such as i.materialise.com. These sites allow you to upload your 3D model while choosing the size and the fabric.
Stride 1. Adjust Your Settings
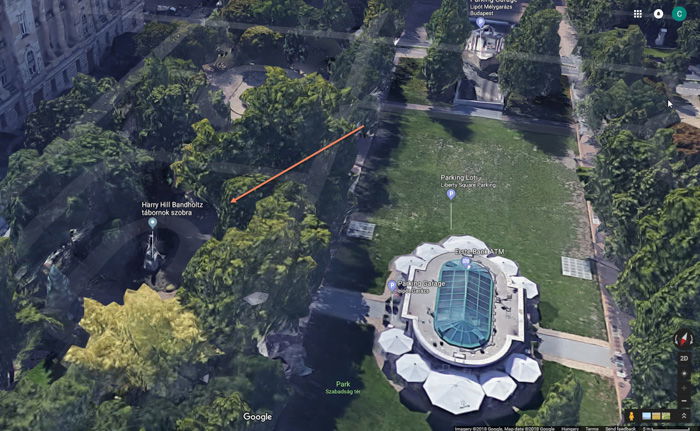
For my case, I tried to capture the Harry Loma Bandholtz statue in Budapest. It was pocket-sized enough to capture in less than 100 images and I could move around it 360°.
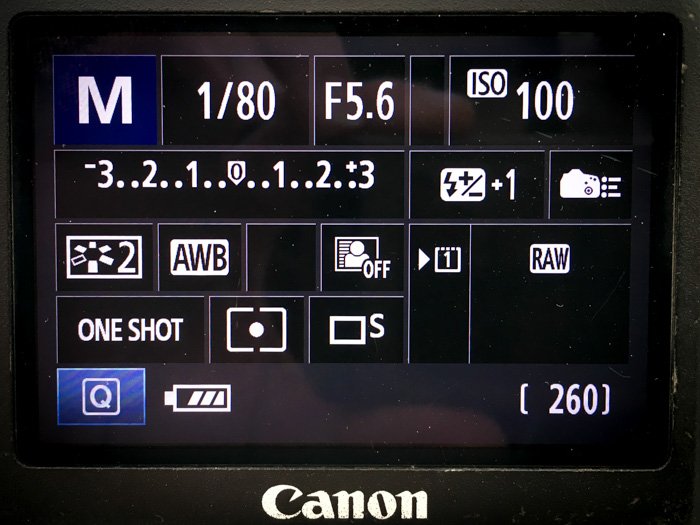
For the camera settings, the lowest ISO possible will provide the best quality image.
Side by side, set the aperture. The depth of field has to be, at the minimum, mid-level. A shallow depth of field would merely place a pocket-size area of your bailiwick in focus.
Lastly, these two higher up settings give you the shutter speed value.
I recommend using Manual mode. This lets you change whatever values y'all want without them affecting other settings.
Here are the settings that I used for my example film.
Step ii. Choose Your Subject
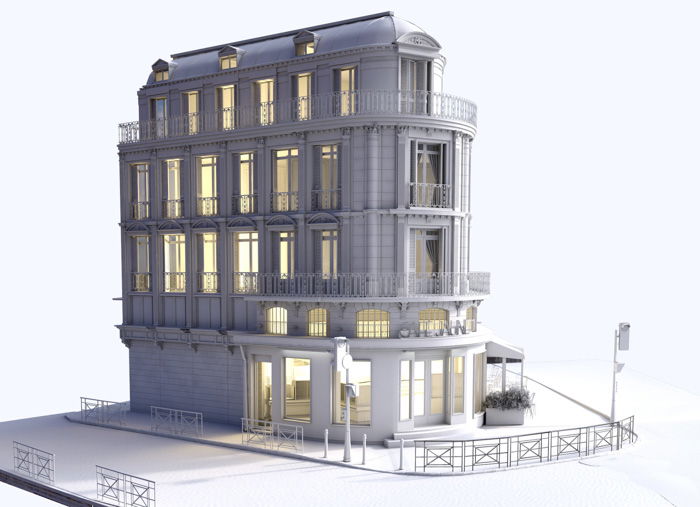
Choose your subject area carefully. 3D photographing a huge building or monument could cause many problems.
Past choosing something too big, you risk not fitting the unabridged discipline in your frame. You may likewise find that you cannot move around it easily. Big structures also demand more than and more images to create 3D models.
My advice is to location scout starting time. Get out with your camera, and consider leaving your tripod behind. Find a field of study and take some reference shots.
Footstep 3. Take Your Images
To brand a 3D model from photos, you need to call back about panorama imaging.
Panoramas are created by photographing a scene from many camera perspectives without actually moving. Y'all take a picture, movement the camera along the same centrality and photograph once again. You repeat this process until you have captured the entire scene. Information technology could cover a 360° field of view.
When you lot sew these images together, you become one image showing the unabridged scene. You need an overlap of around 80%. Each new epitome you shoot needs to prove 20% more of the scene than the last paradigm. Information technology allows the 3D software to match the images correctly.
This is why you should shoot in portrait orientation. This allows you to get the height of the bailiwick in its entirety.
For each, you need to take a mini-panorama. This will give you the length of the subject. It will too ensure the overlap that you lot need to create a 3D model. You will have to move the photographic camera, take three images and move the photographic camera again.
The three images volition follow a elementary process. The first will have the subject in the middle. In the second, the bailiwick will residuum on the left rule-of-thirds intersection, and the third will remainder on the correct intersection.
Using the rule-of-thirds grid on the camera's Live View, you can line everything upward. Employ the on-camera spirit level to ensure information technology is level.
Change your location by taking two medium steps from the last location. Repeat the iii steps higher up the unabridged way around the statue. In each position, take three images.
Beneath is a drawing about my process, showing how many images I took and from what angle. I took a total of 132 images from 44 different positions, covering the full 360° view of the statue.

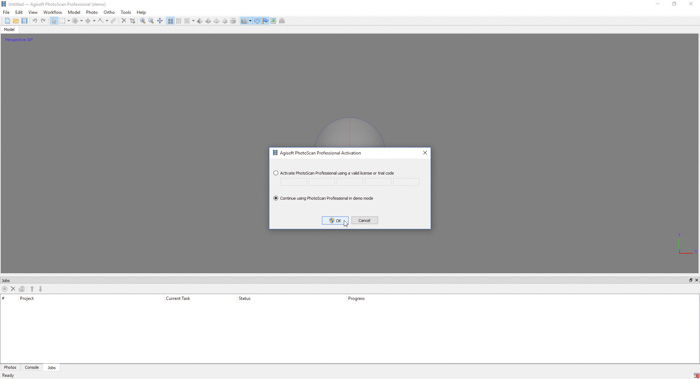
Step four – Install the Software
Become to the Agisoft Photoscan website and download, install, and run its 3D software.
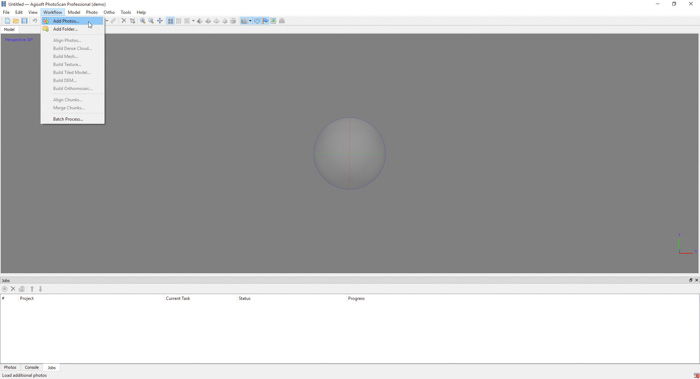
Step v – Add and Marshal Your Images
Click on Workflow > Add Photos. Locate the folder where your Jpegs are stored. Next, select every prototype in the left-paw browser window. Y'all tin can do this with Ctrl/Cmd + A.
Go dorsum to Workflow > Align Photos. Fix the accurateness to Highest and Generic Preselection to Disabled. Under Avant-garde, set the Key point limit to 100,000 and Tie point limit to 40,000.
Press Ok. This process might take over an hour, depending on computer speed and the number of images.
Troubleshooting Tips
I had a trouble with the photographic camera allocation that Agisoft Photoscan uses as default.
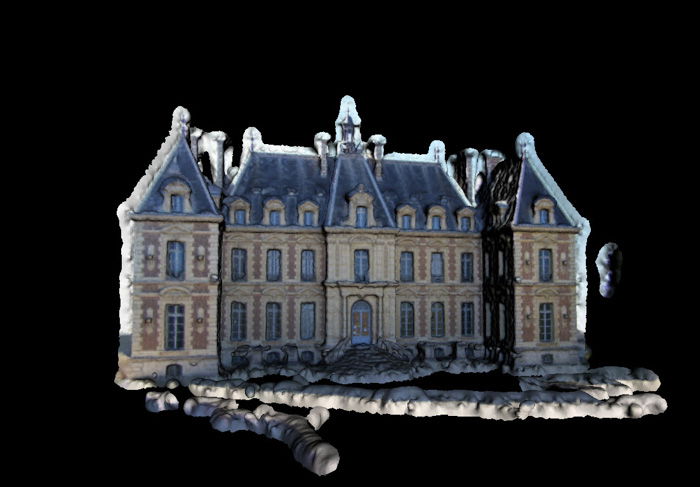
When I first looked at the model, I was disappointed the statue was not equally sharp and equally 'total' as I had hoped. The trees and surrounding objects appeared in the shot.
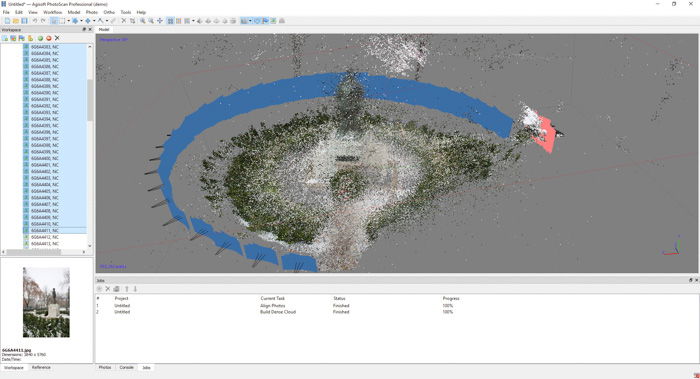
This partly came from the 3D software reading the wrong placement of between half-dozen-viii photographic camera angles.
I tried to motion these independently merely instead chose to rename the files to something more than coherent. The file names had the original names given by the camera.

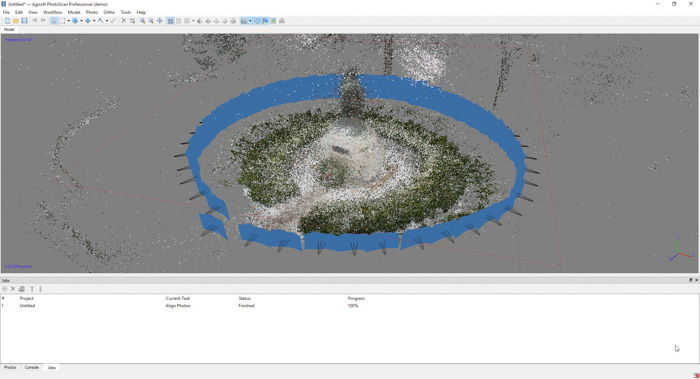
After changing the file names and recreating the 3D model, the program placed the cameras correctly. You tin can see the deviation in the image below.
One way is to try aligning the photos once again. Add the photos, and and so become to Workflow > Align Photos.
In the dialogue box under Pair Preselection, change information technology from Disabled to Generic. This fashion, the 3D software spends more than time thinking about your camera placements and where your images overlap.
Conclusion
The reasons to use 3D Modelling range from creating special memories of travels to creating a 3D object from a photographed subject. Professionally, if yous are an architectural photographer, architect, or work in similar fields, there are benefits in creating a perfect rendition of an existing object.
That said, creating a 3D model from photos is a time-consuming process. Yous demand to have the correct photographic camera setup, tripod, subject area, and software to reach your goal.
3D modelling is the next stride in showing off your fine art. If you are looking for a artistic gift, y'all might consider giving a 3D model. They make great presents for the 3D photographer in your life.
Practise you lot want to brand 3D Models from your property photos? Make sure they are the best they can be with our Movie Perfect Properties course!
Source: https://expertphotography.com/create-a-3d-model-from-photos/


Comments
Post a Comment